A Little Bite of Sunshine
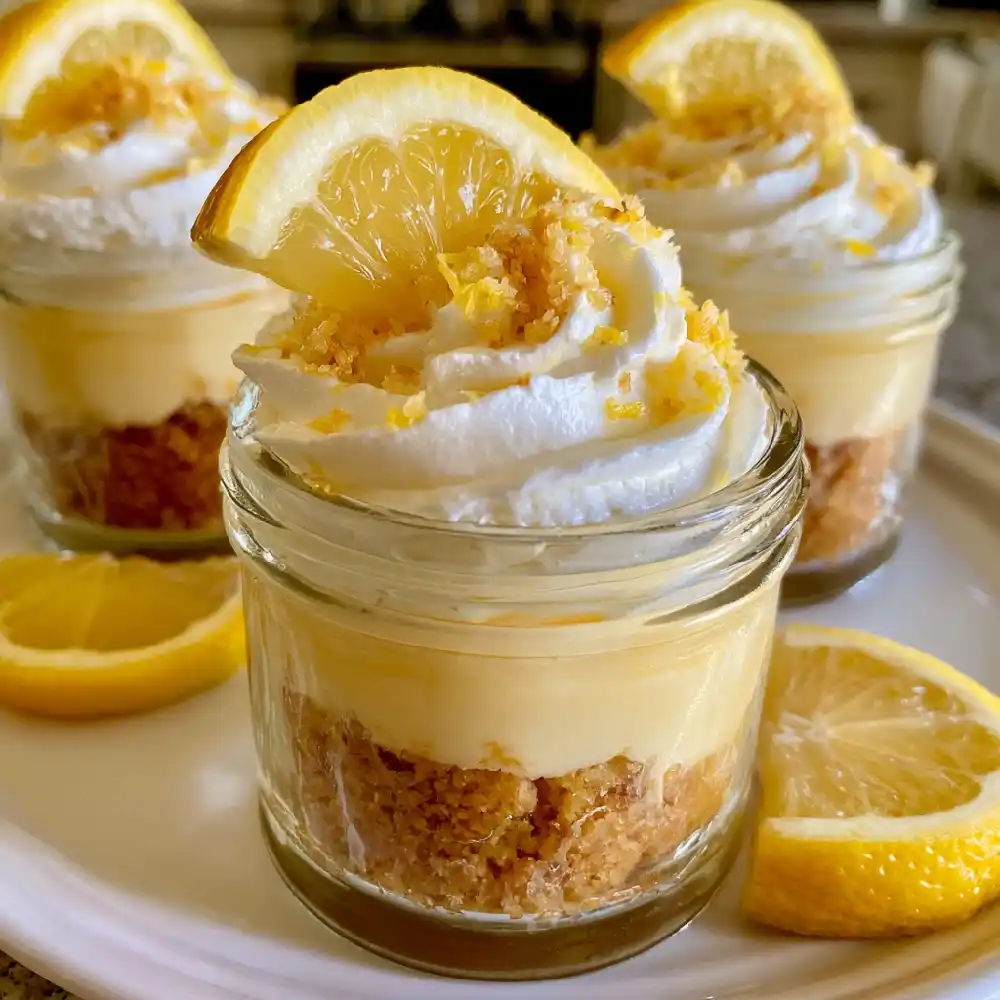
The first time I brought mini lemon tarts to a family gathering, the plate emptied before I found a place to set it down. Everyone loved the buttery little shells and the bright, silky filling. I love making them when I want a dessert that feels special without serving a full-sized tart.

Why These Disappear So Fast
Each tart has a crisp shell and a generous spoonful of lemon filling. Their small size makes them easy to serve at parties or tuck onto a dessert tray. You can make them ahead, then add the finishing touches just before guests arrive.
The Little Tart Pantry
- 1 1/4 cups all-purpose flour
- 1/4 cup powdered sugar
- 1/4 teaspoon fine salt
- 1/2 cup unsalted butter, cold and cubed
- 1 large egg yolk
- 1 tablespoon cold water
- 2 large eggs
- 1/2 cup granulated sugar
- 1/3 cup fresh lemon juice
- 1 tablespoon finely grated lemon zest
- 4 tablespoons unsalted butter, cubed
- 1/2 cup heavy whipping cream
- 1 tablespoon powdered sugar
Bake the Shells, Spoon the Sunshine
- Heat the oven to 350°F and lightly grease a 24-cup mini muffin pan.
- Rub the flour, 1/4 cup powdered sugar, salt, and cold butter together until crumbly.
- Mix in the egg yolk and cold water until the dough holds together.
- Divide the dough among the 24 cups and press it across each bottom and up each side.
- Prick the bottoms with a fork and chill for 15 minutes.
- Bake for 13 to 16 minutes, until lightly golden.
- Cool the shells in the pan for 10 minutes, then transfer them to a rack.
- Whisk the eggs, granulated sugar, lemon juice, and zest in a saucepan.
- Cook over low heat, whisking constantly, until thick enough to coat a spoon.
- Remove from the heat and stir in the 4 tablespoons of butter.
- Spoon the filling into the cooled shells and refrigerate for at least 2 hours.
- Whip the cream with the remaining 1 tablespoon powdered sugar and add a small dollop to each tart before serving.
Tiny Finishing Touches
- Add one raspberry to each tart.
- Sprinkle the tops with finely grated lemon zest.
- Serve beside chocolate-dipped strawberries.
- Skip the whipped cream for a simpler finish.
- Arrange them with other mini desserts on a party tray.

Pro Tips
- Keep the crust butter cold for a tender bite.
- Press the dough thinly and evenly into each cup.
- Whisk the lemon filling constantly as it cooks.
- Use low heat to keep the eggs smooth.
- Cool the shells completely before filling them.
- Add whipped cream just before serving.
FAQs
Can I make mini lemon tarts ahead of time?
Yes. I make the shells and lemon filling a day ahead, assemble the tarts, and keep them chilled. I wait until serving time to add the whipped cream so it looks fresh.
How should I store leftovers?
Keep the filled tarts in an airtight container in the refrigerator for up to 3 days. The shells will soften a little over time, but they’ll still taste lovely.
Can I use store-bought lemon curd?
You can use about 1 cup of store-bought lemon curd when you need a shortcut. Let the baked shells cool completely before spooning it in.
What can I use instead of whipped cream?
A fresh berry or a little extra lemon zest makes an easy topping. If you’re choosing between these and lemon meringue, these tarts are the simpler option because they need no meringue topping.
Why are my tart shells difficult to remove?
The dough may have been pressed too thickly or the shells may still be too warm. Lightly grease the pan before baking and let the shells rest for about 10 minutes before gently lifting them out.
Mini Lemon Tarts
Ingredients
Equipment
Method
- Preheat the oven to 350°F (175°C). Lightly grease a 24-cup mini muffin pan.
- In a mixing bowl, combine the flour, 1/4 cup powdered sugar, and salt. Rub in the cold, cubed butter with your fingertips until the mixture resembles coarse crumbs.
- Add the egg yolk and cold water. Mix gently until the dough begins to hold together, adding only enough mixing to form a cohesive dough.
- Divide the dough among the 24 prepared muffin cups. Press it evenly across the bottom and up the sides of each cup to form thin tart shells.
- Prick the bottom of each shell lightly with a fork. Refrigerate the pan for 15 minutes to help the pastry hold its shape during baking.
- Bake for 13–16 minutes, until the shells are lightly golden. Remove from the oven and let them cool in the pan for 10 minutes before carefully transferring them to a cooling rack.
- While the shells cool, whisk the eggs, granulated sugar, lemon juice, and lemon zest together in a saucepan until smooth.
- Place the saucepan over low heat and cook, whisking constantly, until the lemon mixture thickens enough to coat the back of a spoon. Avoid high heat to keep the eggs smooth and prevent curdling.
- Remove the saucepan from the heat. Add the 4 tablespoons of cubed butter and stir until completely melted and incorporated into a silky lemon filling.
- Once the tart shells have cooled completely, spoon the lemon filling evenly into each shell. Refrigerate for at least 2 hours, until the filling is chilled and set.
- Just before serving, whip the cold heavy cream with 1 tablespoon powdered sugar until soft peaks form. Add a small dollop to each tart and garnish with fresh berries or extra lemon zest if desired.
Notes
The Last Little Tart
These mini lemon tarts bring the bright flavor of a lemon tart recipe to a bite-sized treat. I especially like the moment the spoon breaks through the silky filling into that buttery shell. Set them out cold, add a tiny swirl of cream, and watch how quickly the plate clears.