The Dessert That Drew Everyone In
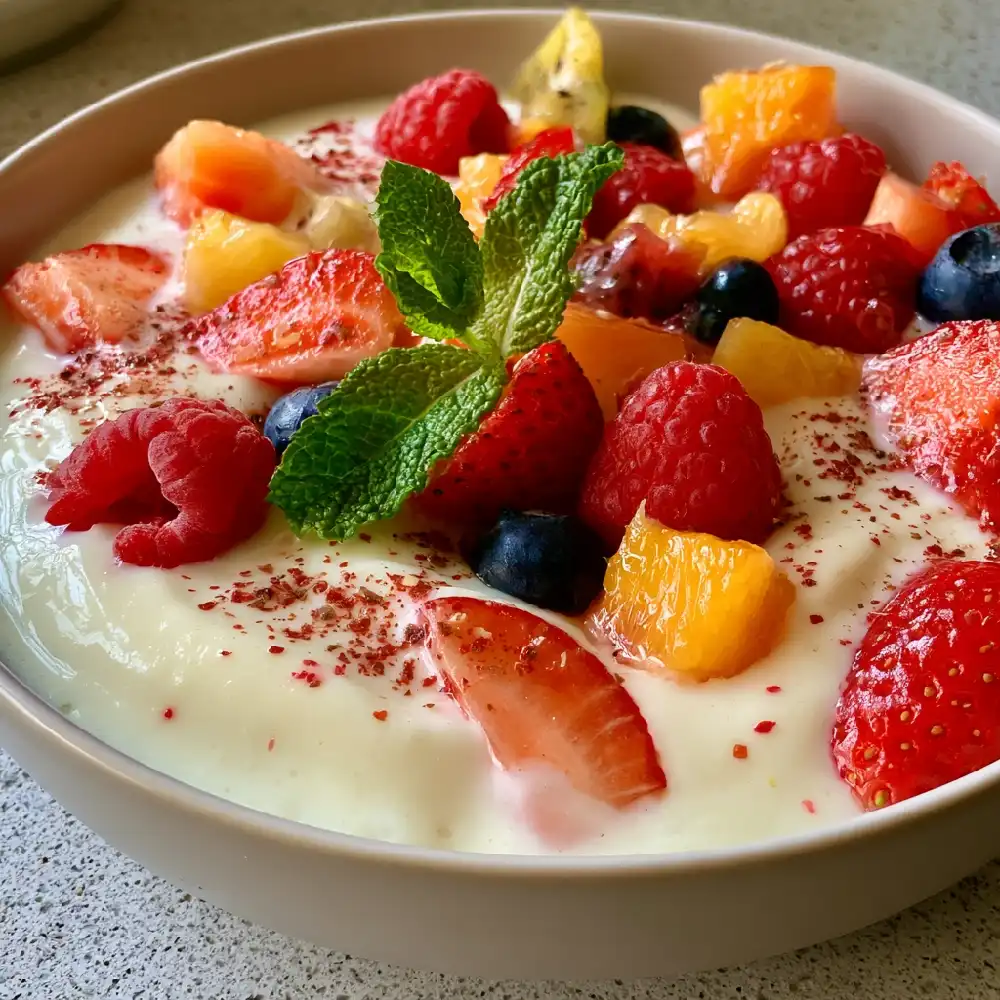
I carried a tray of little pavlovas outside after dinner, and everyone leaned closer before I set it down. The crisp white shells, lemon cream, and berries looked like a celebration. I love making them when I want a dessert that feels memorable but still tastes light.
Crisp, Creamy, and Bright
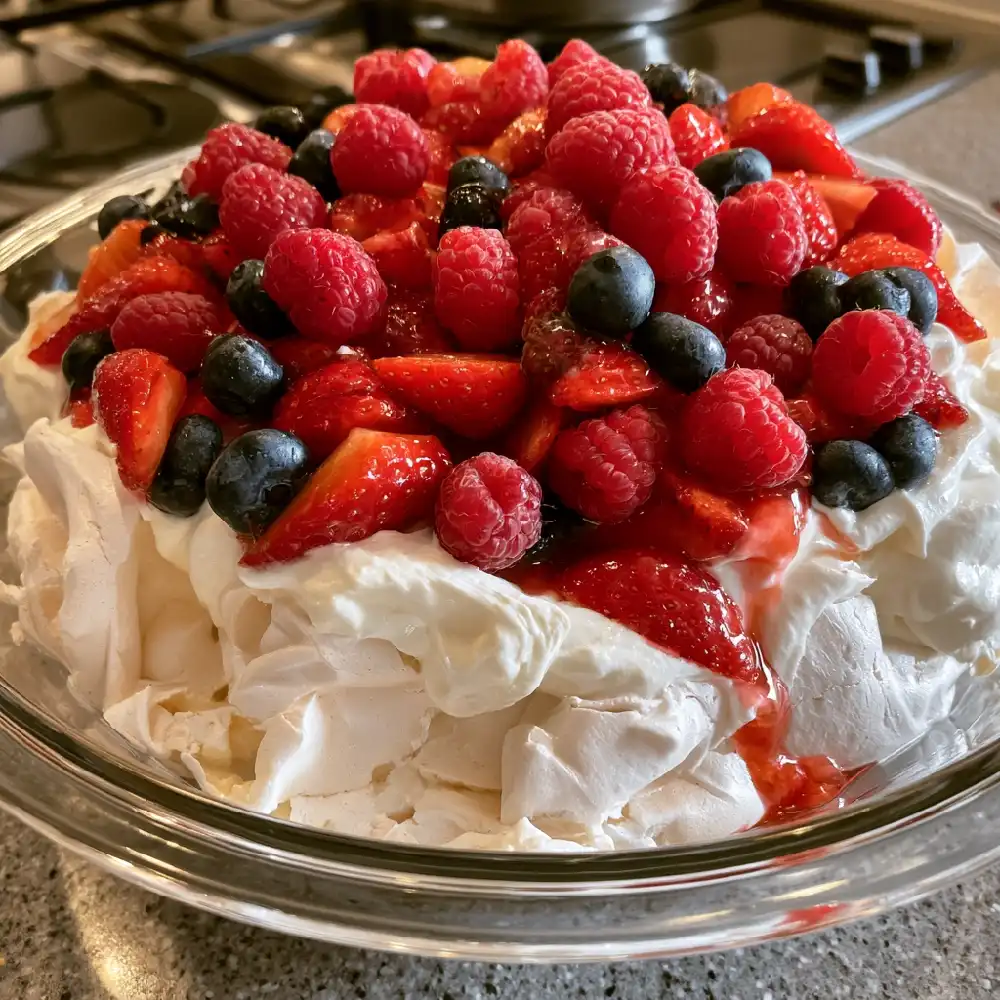
Each mini pavlova has a delicate crust and a soft, marshmallow-like center. Lemon curd cuts through the sweet meringue, while berries bring color and freshness. It has the drama of a pavlova cake, but individual portions are easier to serve outdoors.
What Goes Into the Pavlovas
- 4 large egg whites
- 1 cup superfine sugar
- 2 teaspoons cornstarch
- 1 teaspoon fresh lemon juice
- 1 teaspoon vanilla extract
- 1 cup cold heavy whipping cream
- 2 tablespoons powdered sugar
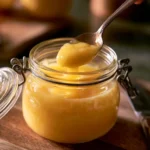
- 1/2 cup prepared lemon curd
- 2 cups fresh mixed berries
- 1 tablespoon finely grated lemon zest
Make the Shells, Add the Berries
- Heat the oven to 250°F and line a baking sheet with parchment paper.
- Beat the egg whites until soft peaks form.
- Add the superfine sugar gradually, beating until the meringue is thick and glossy.
- Fold in the cornstarch, lemon juice, and vanilla.
- Spoon six mounds onto the baking sheet and make a shallow well in each.
- Bake for 75 minutes.
- Turn off the oven and leave the pavlovas inside for 1 hour.
- Remove the shells and cool completely.
- Whip the cream with the powdered sugar to soft peaks.
- Fold the lemon curd gently into the cream.
- Spoon the lemon cream into the shells.
- Top with berries and lemon zest.
- Serve immediately.
Make the Tray Your Own
- Use only strawberries when they’re at their sweetest.
- Add a few raspberries for extra tartness.
- Set out the shells, cream, and berries for guests to assemble.
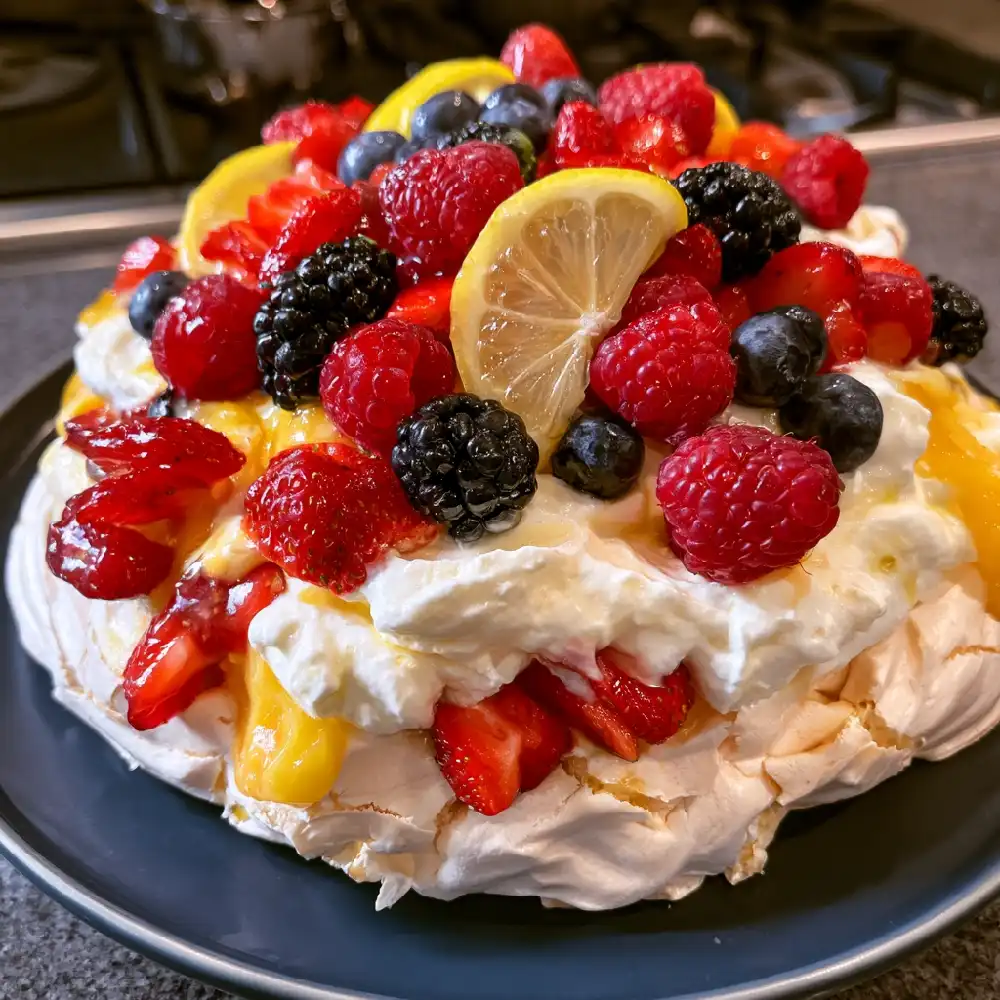
- Make one large pavlova cake instead of individual shells.
- Serve with extra lemon curd on the side.
Pro Tips
- Use a clean, grease-free bowl for the egg whites.
- Add the sugar slowly as you beat.
- Let the shells cool in the turned-off oven.
- Keep unfilled shells away from humidity.
- Chill the cream until assembly time.
- Add the toppings just before serving.
FAQs
Can I make the pavlova shells ahead of time?
Yes. Make them a day ahead and keep the cooled shells in an airtight container at room temperature. Wait until serving to add the lemon cream and berries.
How should I store leftovers?
Filled pavlovas are best eaten right away because the cream softens the shells. Refrigerate any leftovers promptly and eat them within a day, knowing they will lose their crispness.
Can I use regular granulated sugar?
Yes, but superfine sugar dissolves more readily in the egg whites. If you use regular sugar, beat the meringue until it feels smooth rather than gritty between your fingers.
Why did my pavlovas crack?
A few cracks are normal for this dessert. Large cracks can happen if the shells cool too quickly, so let them rest in the switched-off oven as directed.
Will they hold up at an outdoor dinner?
The unfilled shells can wait indoors while you eat, but assembled pavlovas are delicate in heat and humidity. Keep the cream chilled, fill the shells just before serving, and bring them outside in small batches.
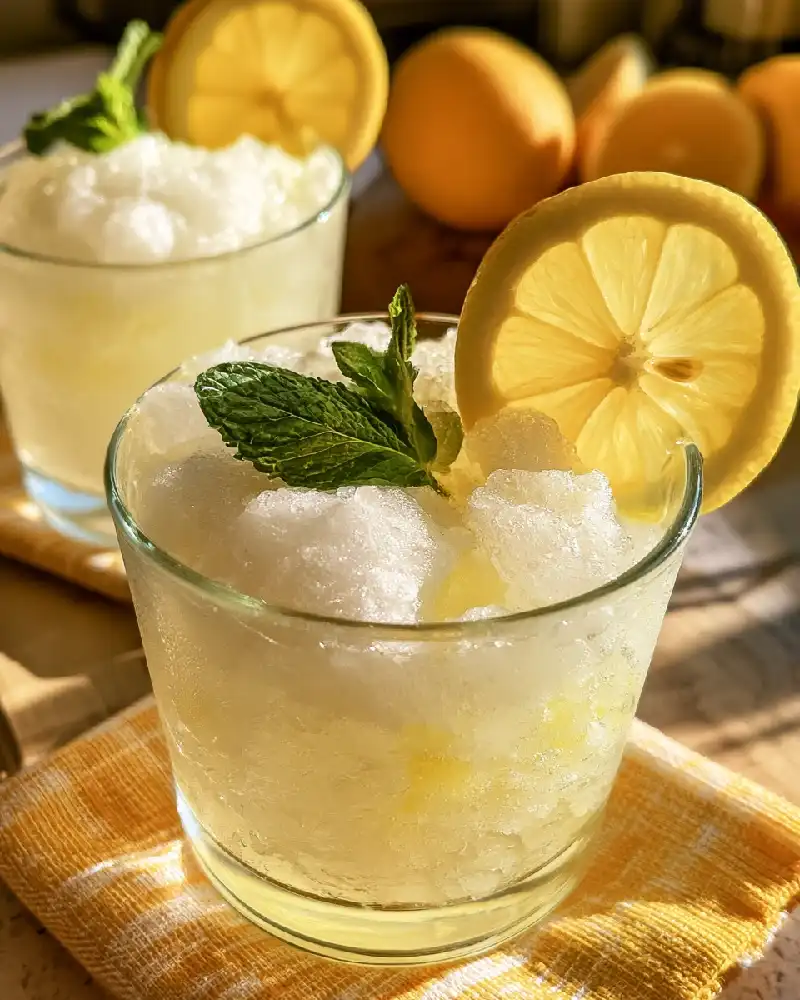
Lemon Granita
Ingredients
Equipment
Method
- Combine the sugar and 1 cup of water in a saucepan.
- Heat over medium heat, stirring until the sugar dissolves completely.
- Remove the saucepan from the heat and let the syrup cool completely.
- Stir in the remaining 2 cups of water, fresh lemon juice, lemon zest, and salt.
- Pour the lemon mixture into a shallow 9×13-inch pan, spreading it evenly.
- Place the pan in the freezer for 45 minutes, until ice begins forming around the edges.
- Scrape the icy edges toward the center with a fork, breaking up any frozen sections.
- Return the pan to the freezer and scrape the mixture thoroughly every 30 to 45 minutes for 3 to 4 hours, until fluffy ice crystals form throughout.
- Fluff the frozen crystals with a fork, then spoon the granita into chilled serving cups and serve immediately.
Notes
A Lovely Last Course
This is one of my favorite fancy desserts because each part brings something different to the spoon. The shell shatters gently, the lemon cream settles in, and the berries make every bite feel fresh. Assemble them when dinner is done and enjoy them while the evening is still warm.