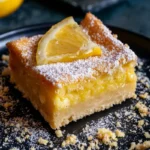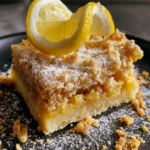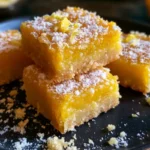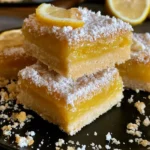
Soft, Chewy, and Completely Gluten Free
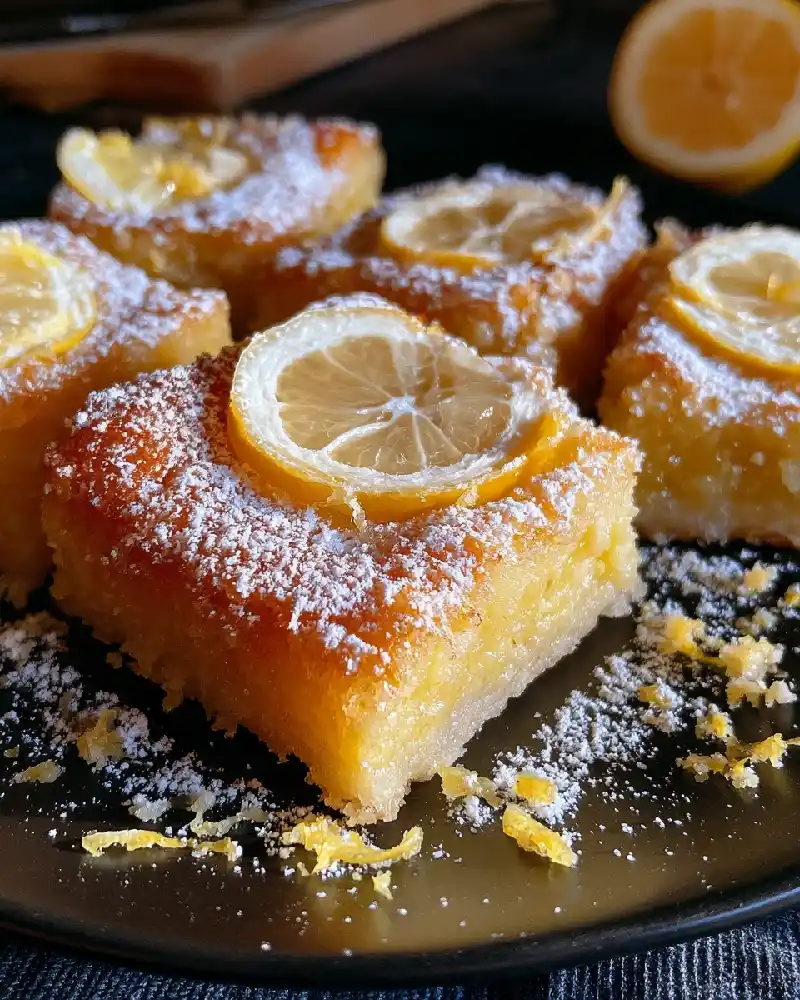
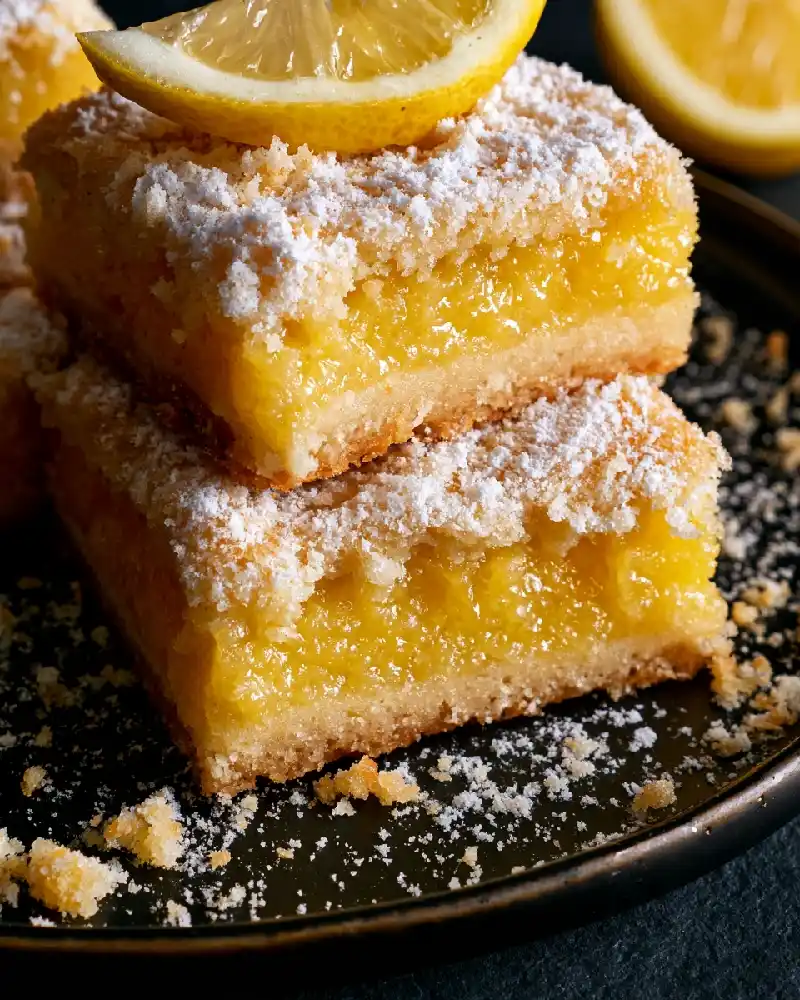
My sister once told me gluten free desserts always taste dry, so I set out to bake her a lemon bar so chewy she would forget the label entirely.
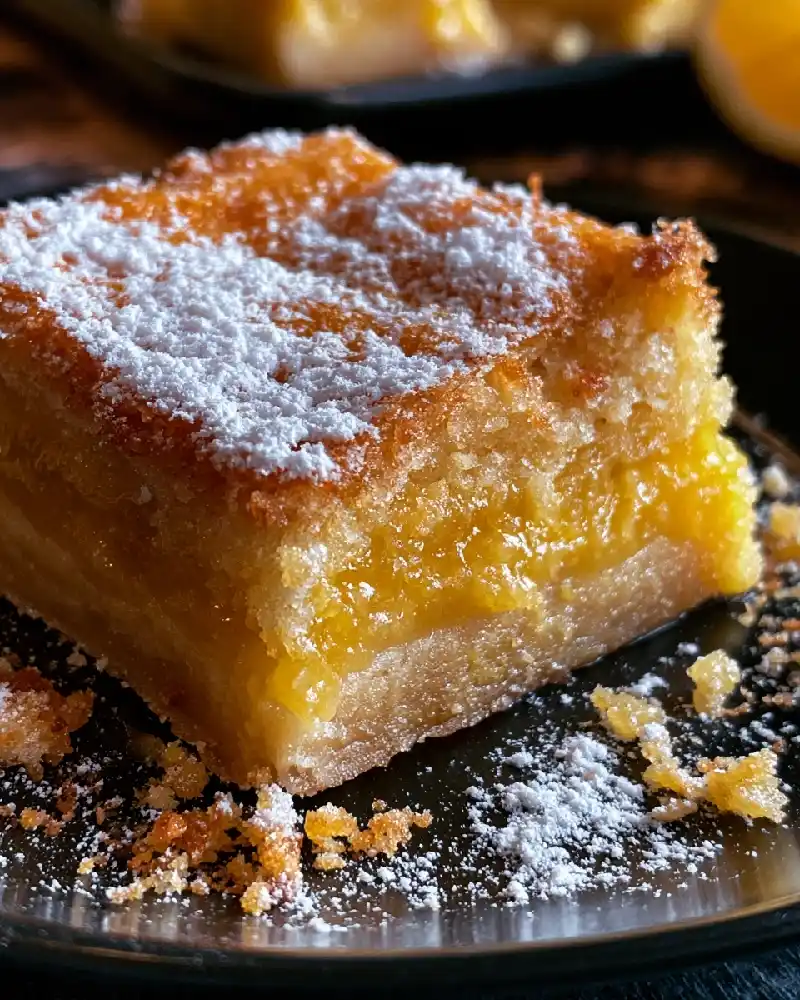
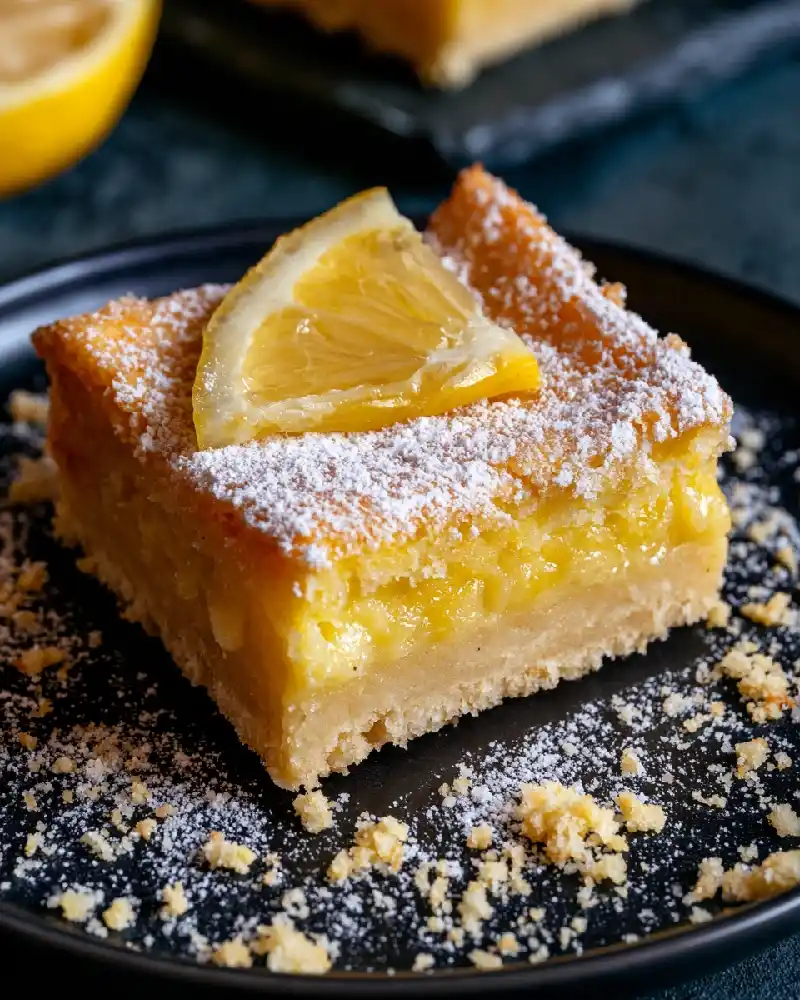
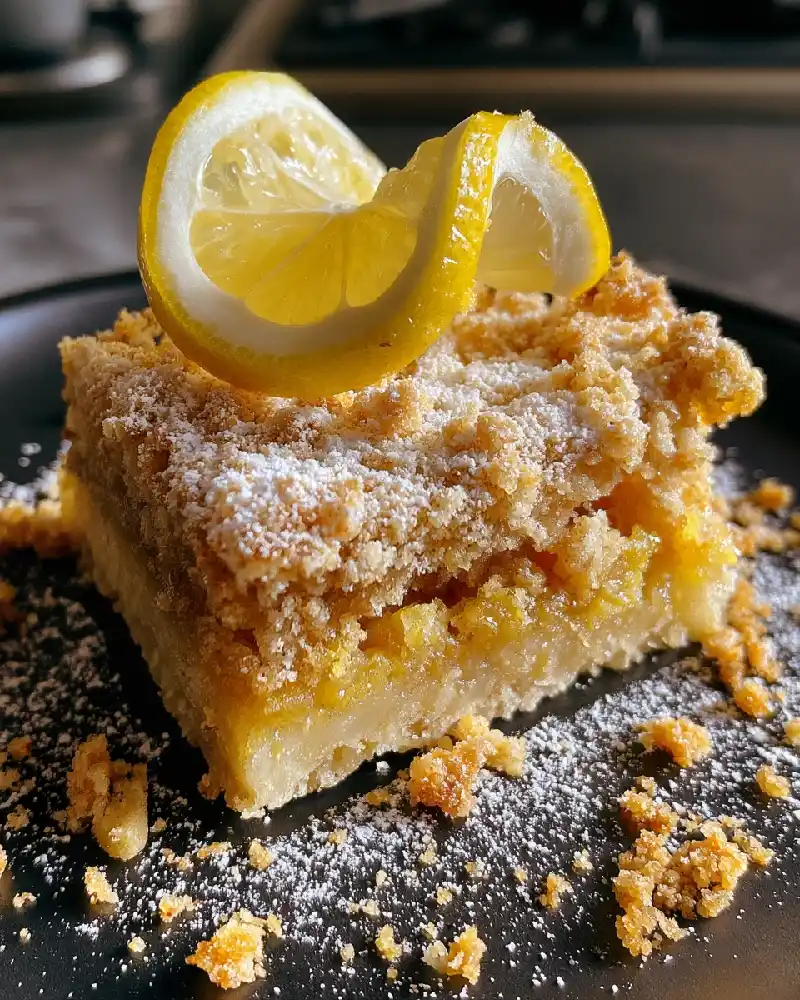
Learn more about DanyRecipes and why I love proving a good bar can be for everyone. These gluten free lemon bars bake up dense, buttery, and delightfully chewy under a tangy custard.
Why These Bars Are So Chewy
Melted butter and brown sugar in the crust create a soft, caramel-kissed base instead of a dry crumb. An extra egg yolk makes the filling rich and fudgy, so every bite has a satisfying chew.
This lemon bars recipe fits a standard 9×13 pan and makes a generous batch for sharing. It is one of my favorite lemon desserts for cozy afternoons, and it sits near my chewy thumbprint lemon curd cookies on a dessert table, though you should check that those cookies suit your guests’ diets.
Ingredients for Chewy Gluten Free Bars
For the crust:
- 2 cups gluten free 1 to 1 baking flour (with xanthan gum included)
- 1/3 cup powdered sugar
- 1/4 cup packed light brown sugar
- 1/2 teaspoon fine salt
- 1 cup (2 sticks) unsalted butter, melted and slightly cooled
- 1 teaspoon vanilla extract
For the lemon filling:
- 1 3/4 cups granulated sugar
- 4 large eggs plus 2 egg yolks, at room temperature
- 2/3 cup fresh lemon juice (about 4 lemons), strained
- 2 tablespoons lemon zest, finely grated
- 1/3 cup gluten free 1 to 1 baking flour
- 1/4 teaspoon fine salt
- Powdered sugar, for dusting
Easy Steps to Chewy Bars
STEP 1
Heat the oven to 350°F and line a 9×13 pan with parchment, leaving an overhang on two sides.
STEP 2
Stir the flour, powdered sugar, brown sugar, and salt, then mix in the melted butter and vanilla until a soft, thick dough forms.
STEP 3
Press the dough firmly into the pan, let it rest for 10 minutes, then bake for 20 minutes until golden around the edges.
STEP 4
Whisk the granulated sugar, eggs, yolks, lemon juice, zest, flour, and salt until smooth and glossy.
STEP 5
Pour the filling over the warm crust and bake for 24 to 28 minutes until the center is set with a slight wobble.
STEP 6
Cool on a rack for 30 minutes, chill for at least 3 hours, then dust with powdered sugar and slice into squares.
Serving Ideas and Easy Twists
- Serve slightly cool rather than ice cold for the chewiest texture.
- Add a spoonful of whipped cream or mascarpone on the side.
- Pair with my crispy shortbread lemon curd cookies for a buttery crunch, keeping in mind those cookies contain gluten.
- Sprinkle a pinch of flaky salt on top for a sweet and salty finish.
- Cut into small squares, since these bars are rich and satisfying.
Ultimate Chewy Gluten-Free Lemon Bars
Ingredients
Equipment
Method
- Preheat the oven to 350°F (175°C). Line a 9×13-inch baking pan with parchment paper, leaving an overhang on two sides for easy removal.
- In a bowl, stir together the gluten-free baking flour, powdered sugar, brown sugar, and salt. Add the melted, slightly cooled butter and vanilla extract. Mix until a soft, thick dough forms.
- Press the dough firmly and evenly into the prepared pan. Let it rest for 10 minutes so the flour hydrates, then bake for about 20 minutes, until golden around the edges.
- Whisk together the granulated sugar, eggs, egg yolks, lemon juice, lemon zest, gluten-free baking flour, and salt until smooth and glossy.
- Pour the lemon filling over the warm crust. Bake for 24 to 28 minutes, until the center is set but still has a slight wobble.
- Cool the pan on a wire rack for 30 minutes, then refrigerate for at least 3 hours. Dust with powdered sugar just before serving and slice into squares.
Notes
Pro Tips
- Cool the melted butter slightly so it does not scramble the eggs in the filling.
- Let the pressed dough rest so the gluten free flour hydrates and the crust stays tender.
- Add the extra yolks for a richer, denser custard.
- Pull the pan when the center still wobbles, since overbaking dries out the chew.
- Check every label, and use clean tools if you are baking for someone with celiac disease.
- Dust with powdered sugar only right before serving so it stays bright.
FAQs
What makes these gluten free bars chewy?
Melted butter and brown sugar create a dense, chewy base, and the extra yolks make the filling rich. Together they give a soft bite instead of a dry crumb.
Are these bars safe for celiac disease?
They are when every ingredient is labeled gluten free and your tools are free of regular flour. Always check the powdered sugar and vanilla labels.
How should I store the bars?
Cover and refrigerate for up to 5 days, with parchment between layers. Let them sit at room temperature for 10 minutes before serving.
Can I freeze them?
Yes, freeze the undusted bars wrapped tightly for up to 2 months. Thaw overnight in the fridge and dust before serving.
Why is my crust too soft?
It likely needed a few more minutes in the oven. Bake until the edges are deep golden and press the dough firmly so it sets.
Chewy, Cozy, and Gone Fast
A chewy lemon bar feels like a hug, and everyone deserves one. I hope these squares win over even the toughest gluten free skeptic. For more citrus treats, try my melt in your mouth lemon curd cookies, the 5 ingredient glazed lemon curd cookies, or the zesty drop lemon curd cookies.