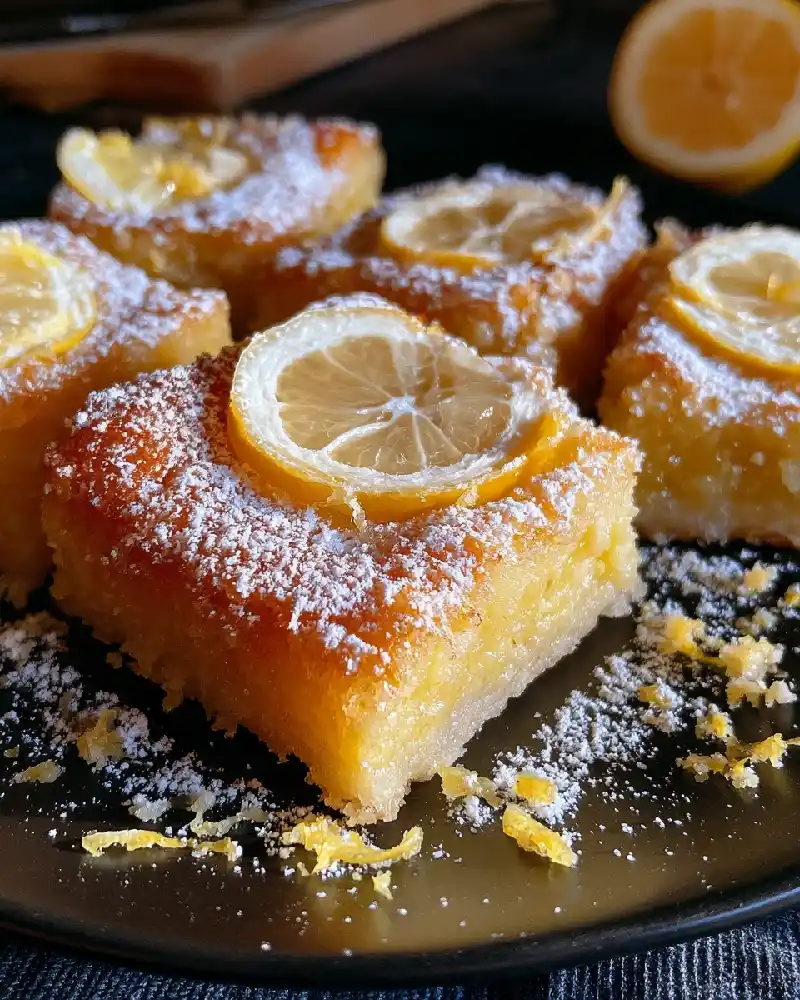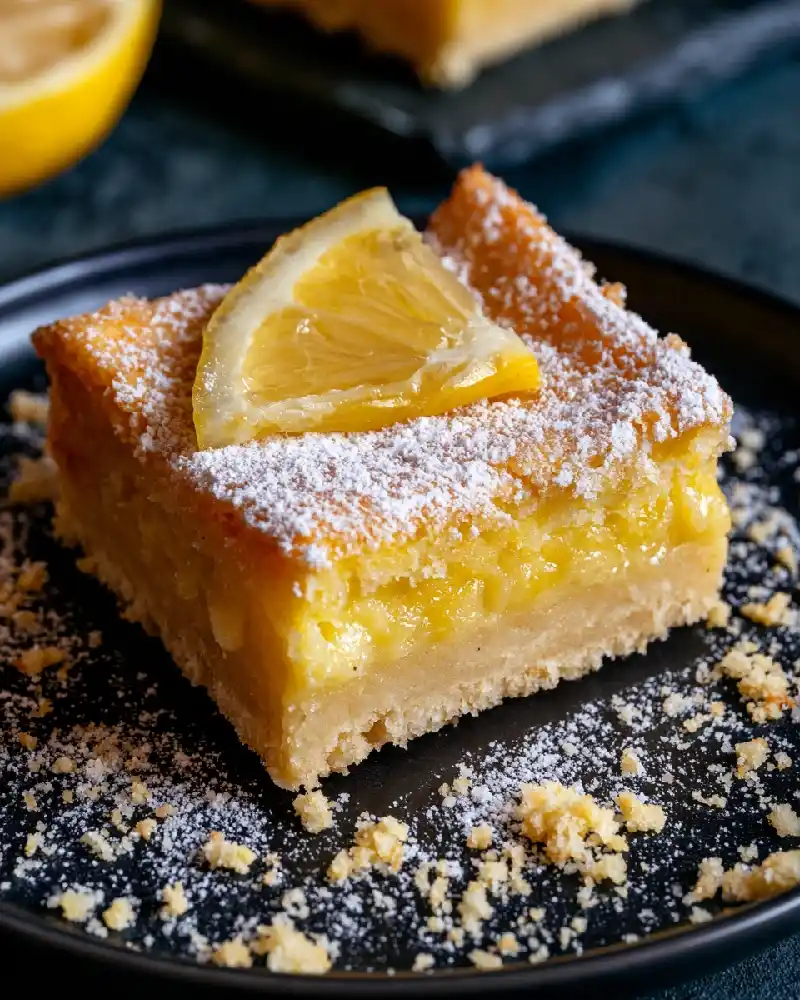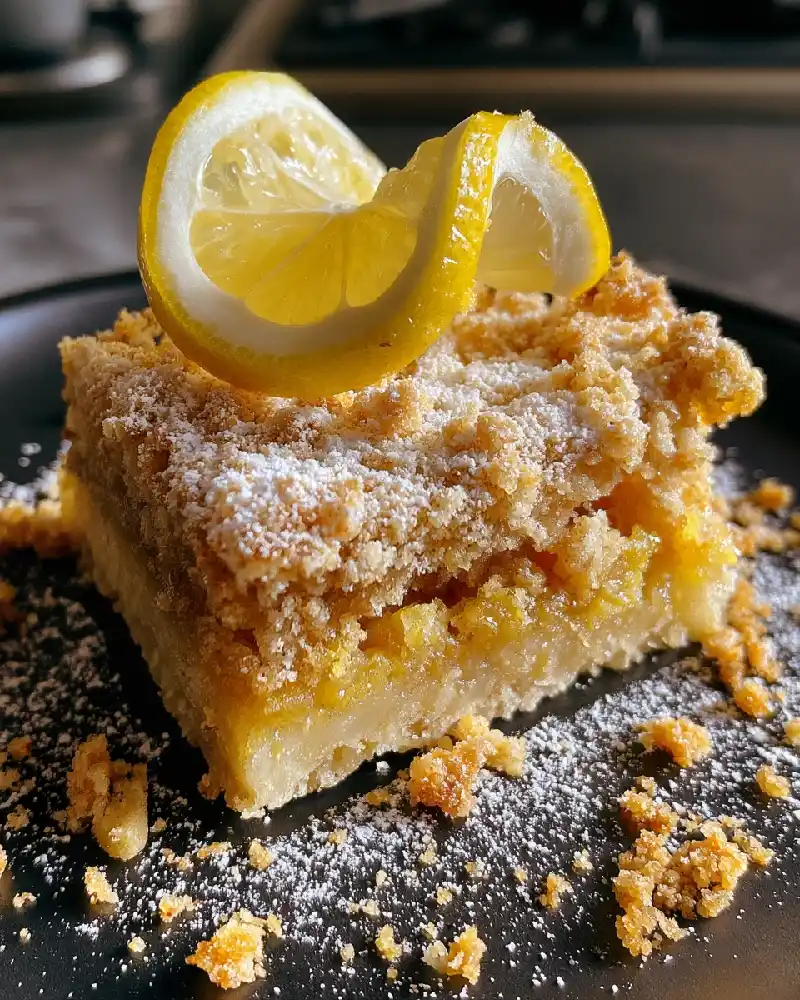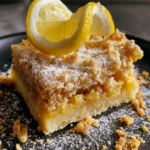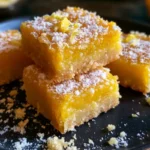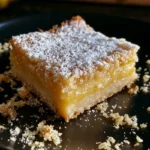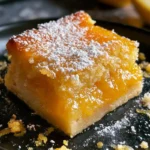
Baked With Extra Care for Every Guest
When my sister first came home from her celiac diagnosis, I cleared out a whole shelf and relearned how to bake with careful, loving attention.
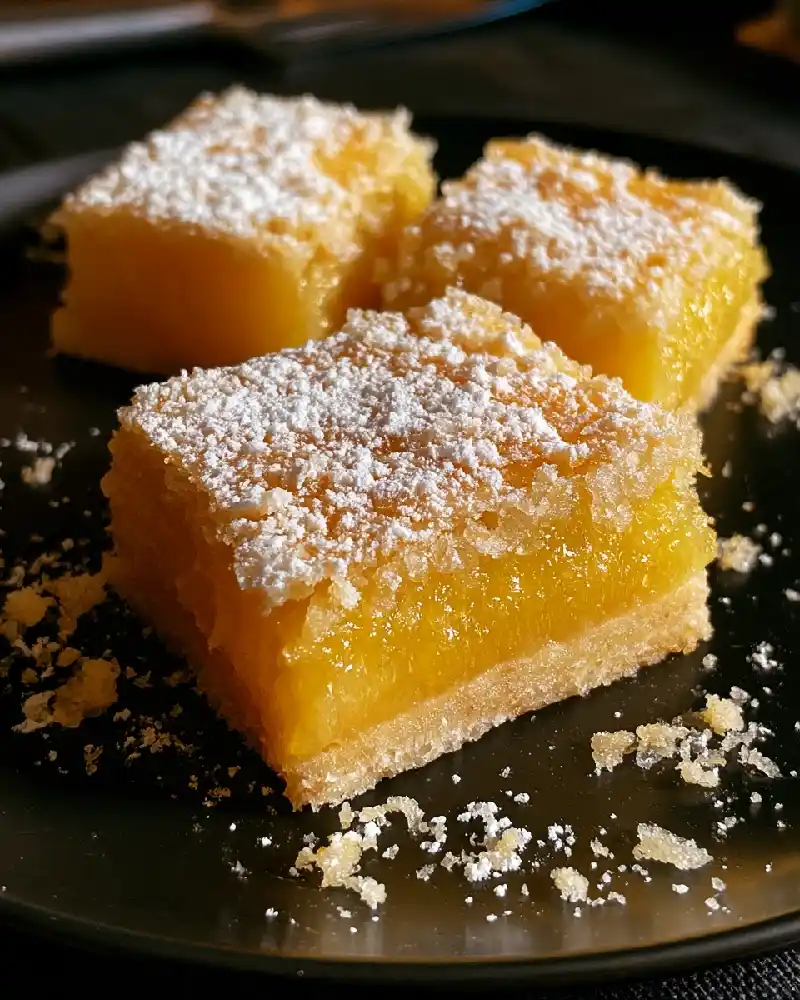
Learn more about DanyRecipes and why I never cut corners when someone’s health is at the table. These gluten free lemon bars are built for celiac safety, from the label-checked ingredients to the clean-kitchen method.
Why These Bars Are Celiac Friendly
Every ingredient here is naturally gluten free or easy to find with a certified gluten free label, and the method keeps cross contact in check. The crust uses a certified blend with xanthan gum, so the bars stay tender, crumbly, and sliceable, just like the classic.
This lemon bars recipe fits a standard 9×13 pan and makes a generous batch for sharing. It is one of my favorite lemon desserts for guests with dietary needs, and it sits near my chewy thumbprint lemon curd cookies on a dessert table, though those cookies are not gluten free, so keep them on a separate plate.
Certified Gluten Free Ingredients
For the crust:
- 2 cups certified gluten free 1 to 1 baking flour (with xanthan gum included)
- 1/2 cup powdered sugar, certified gluten free, plus extra for dusting
- 2 tablespoons cornstarch, certified gluten free
- 1/4 teaspoon fine salt
- 1 cup (2 sticks) cold unsalted butter, cubed
- 1 teaspoon pure vanilla extract, labeled gluten free
For the lemon filling:
- 2 cups granulated sugar
- 4 large eggs, at room temperature
- 2/3 cup fresh lemon juice (about 4 lemons), strained
- 2 tablespoons lemon zest, finely grated
- 3 tablespoons certified gluten free 1 to 1 baking flour
- Pinch of salt
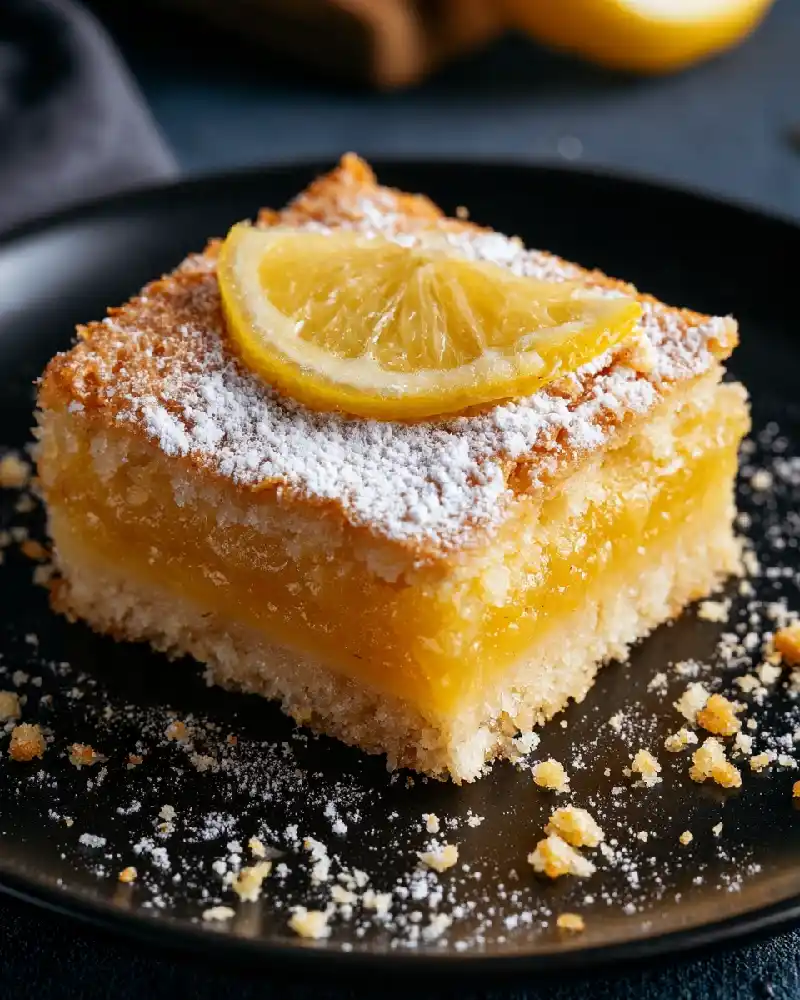
Careful Steps to Safe Bars
STEP 1
Wash your pan, bowls, whisk, and knife well, wipe the counter, and use fresh parchment, then heat the oven to 350°F and line a 9×13 pan with an overhang on two sides.
STEP 2
Whisk the flour, powdered sugar, cornstarch, and salt, then cut in the cold butter and vanilla until soft, damp crumbs form.
STEP 3
Press the dough firmly into the pan, let it rest for 10 minutes, then bake for 18 to 20 minutes until lightly golden.
STEP 4
Whisk the sugar, eggs, lemon juice, zest, flour, and salt until completely smooth.
STEP 5
Pour the filling over the warm crust and bake for 22 to 26 minutes until the center barely wobbles.
STEP 6
Cool on a rack, chill for at least 3 hours, then dust with powdered sugar and slice into squares with a clean knife.
Serving Ideas and Easy Twists
- Serve chilled with fresh raspberries or blueberries.
- Add a spoonful of whipped cream on the side.
- Use a dedicated serving plate and utensil so no crumbs from gluten cookies touch the bars.
- Pair with my crispy shortbread lemon curd cookies only for guests who eat gluten, served on a separate platter.
- Cut into small squares and wrap in parchment for gifting.
Perfect Celiac-Friendly Gluten-Free Lemon Bars
Ingredients
Equipment
Method
- Wash the baking pan, bowls, whisk, and knife thoroughly. Wipe down the counter and use fresh parchment paper to help prevent gluten cross contact. Preheat the oven to 350°F (175°C) and line a 9×13-inch baking pan with parchment, leaving an overhang on two sides.
- Whisk together the gluten-free baking flour, powdered sugar, cornstarch, and salt. Cut in the cold cubed butter and add the vanilla extract, mixing until soft, damp crumbs form.
- Press the dough firmly and evenly into the prepared pan. Let it rest for 10 minutes, then bake for 18 to 20 minutes, until lightly golden.
- In a bowl, whisk together the granulated sugar, room-temperature eggs, strained lemon juice, lemon zest, gluten-free baking flour, and salt until completely smooth.
- Pour the lemon filling over the warm crust. Bake for 22 to 26 minutes, until the center barely wobbles when the pan is gently nudged.
- Cool the bars on a wire rack, then refrigerate for at least 3 hours until fully set. Dust with powdered sugar and slice into squares using a clean knife.
Notes
Pro Tips
- Read every label, since powdered sugar, vanilla, and baking blends can hide gluten.
- Choose products marked certified gluten free, not just naturally gluten free.
- Use a clean pan, clean tools, and a clean cutting surface to avoid cross contact.
- Let the pressed dough rest so the flour hydrates and the crust stays tender.
- Pull the pan when the center still wobbles, since it firms up as it chills.
- Chill for a full 3 hours so the bars slice cleanly.
FAQs
Are these bars safe for celiac disease?
They can be when every ingredient is certified gluten free and your tools and surfaces are free of regular flour. If you are unsure about a product, check with the manufacturer or ask the person who will eat them.
What is cross contact?
It happens when gluten from regular flour touches gluten free food through shared tools, pans, or surfaces. Washing everything well and using fresh parchment prevents it.
How should I store the bars?
Cover and refrigerate for up to 4 days, with parchment between layers, away from foods containing gluten. Freeze undusted bars for up to 2 months.
Can I use almond flour for the crust?
Yes, swap in 2 cups of blanched almond flour plus 1/4 cup melted butter for a nuttier crust. Press it firmly so it holds together.
Why is my filling runny?
It likely needed a few more minutes in the oven or a longer chill. The center should barely wobble when you nudge the pan.
Safe, Sweet, and Shared
Nothing makes me happier than watching someone I love relax and enjoy dessert without worry. I hope these bars give your table the same peace of mind. For more citrus treats, try my melt in your mouth lemon curd cookies, the 5 ingredient glazed lemon curd cookies, or the zesty drop lemon curd cookies, keeping in mind they contain gluten.