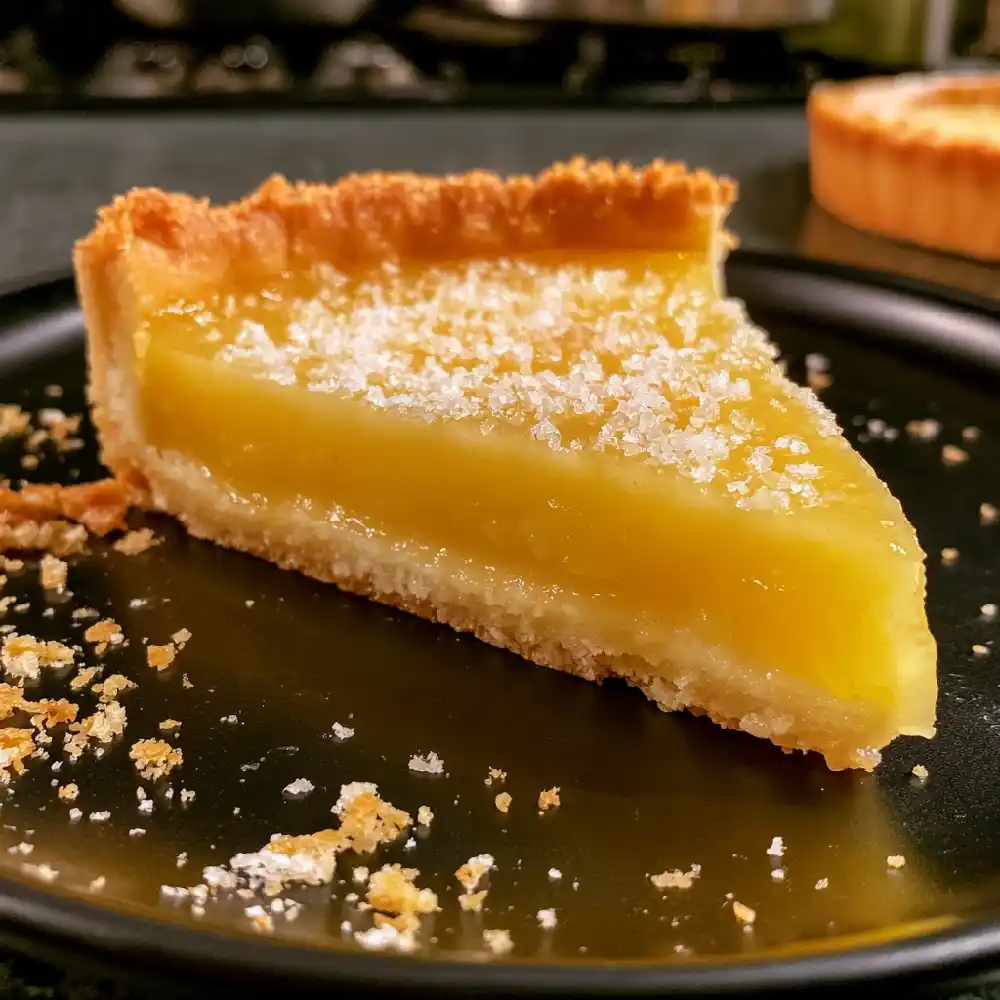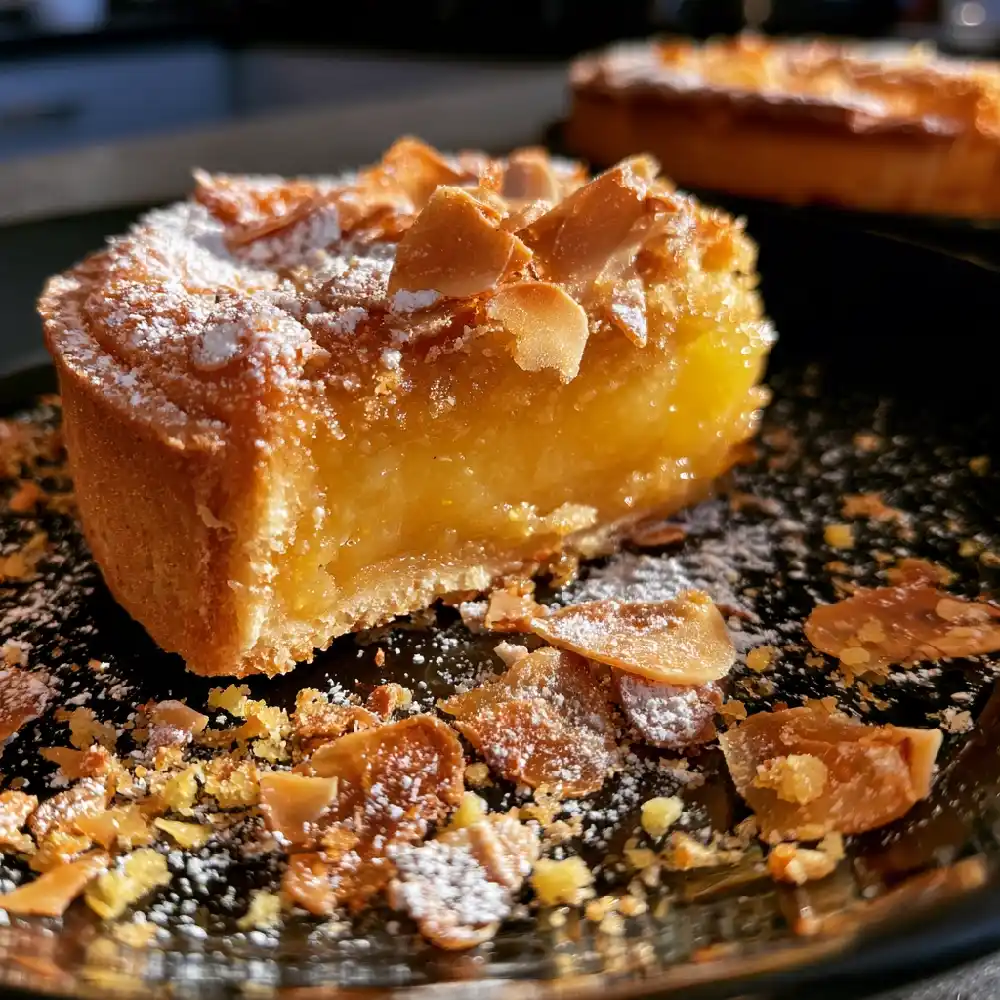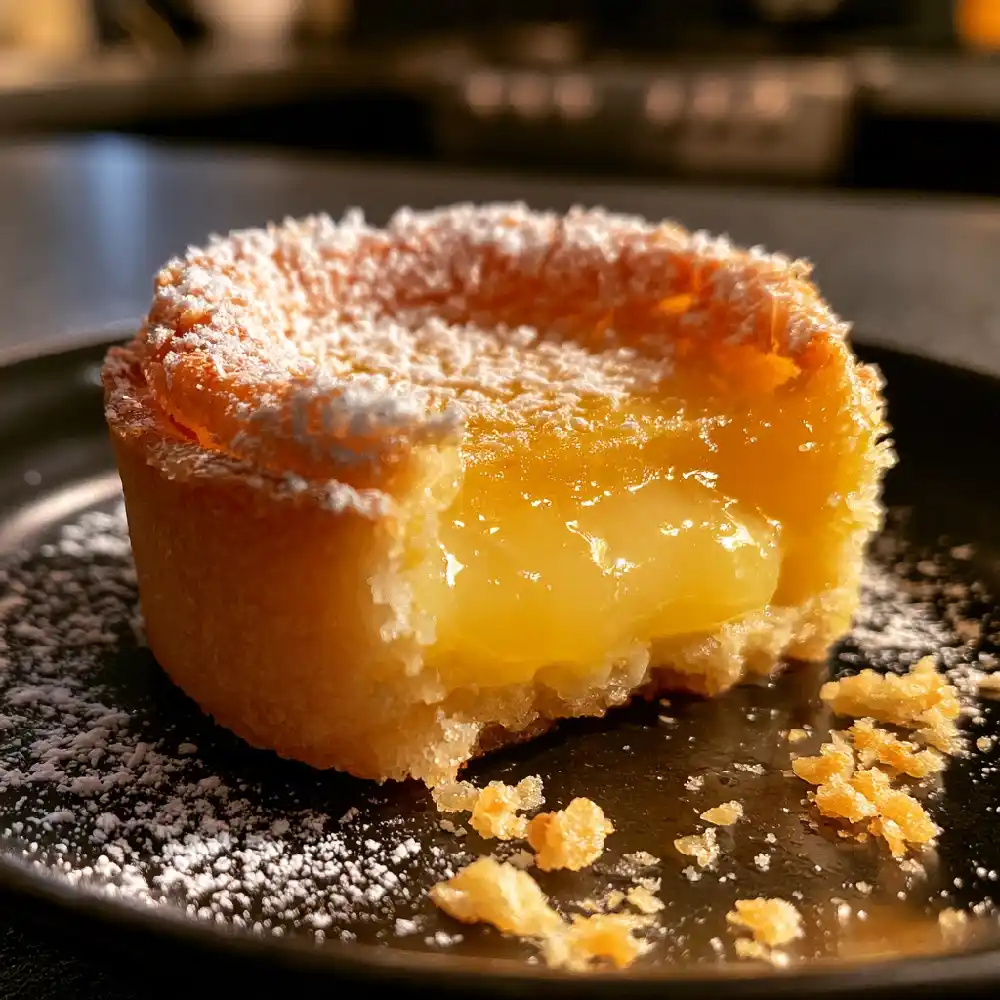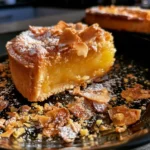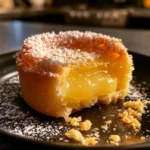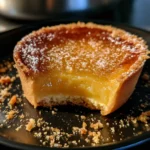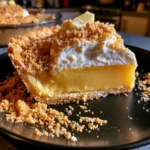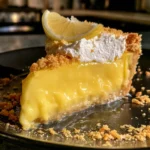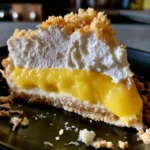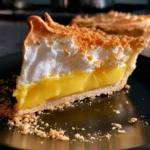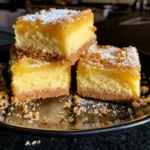
A Glossy Centerpiece of Sunshine
There is something truly mesmerizing about a dessert that catches the light with a mirror-like sheen. I first experimented with adding a delicate fruit glaze over my pastries during a spring baking retreat when I wanted that signature bakery-window gloss.
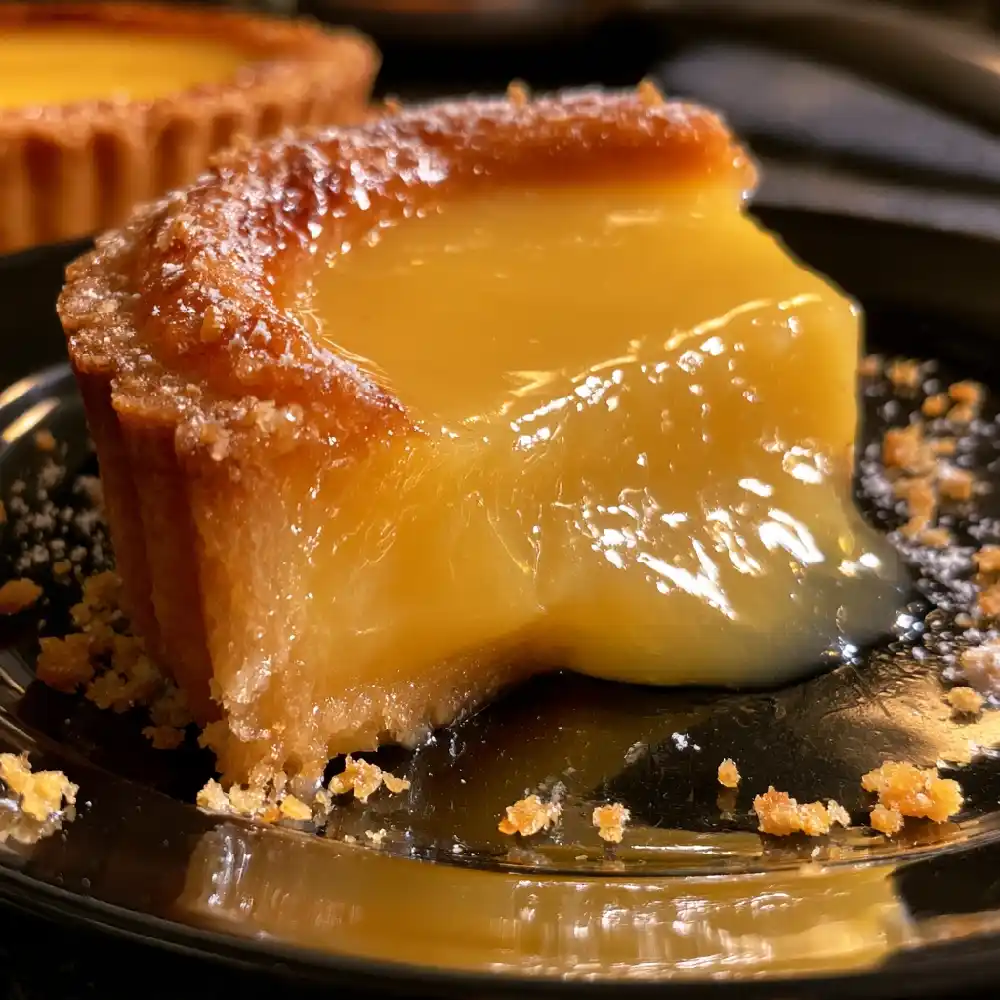
Combining that luminous finish with a rich lemon curd tart base created an absolute showstopper. You can learn more about our cozy kitchen philosophy about DanyRecipes as we craft this brilliant treat.
Why This Glazed Tart Shines Bright
You are going to completely fall in love with this recipe because it elevates a classic pastry into a work of art. Here is why it stands out among your favorite lemon desserts:
- Luminous Glaze: A light apricot or neutral mirror glaze seals the top, locking in moisture and creating incredible shine.
- Crisp Pastry Base: A buttery, golden crust provides a sturdy and delicious foundation for the creamy filling.
- Vibrant Balance: The sweet glaze perfectly softens the sharp, zesty punch of the lemon curd pie filling beneath.
Everything You Need
- 1 pre-baked 9-inch tart shell: Made from sweet shortcrust pastry, completely cooled.
- 1 and 1/2 cups Lemon Curd: Thick store-bought or homemade filling poured smoothly into the shell.
- 1/4 cup apricot preserves: The secret ingredient for brushing a brilliant, glossy finish over the top.
- 1 teaspoon warm water: Used to thin the preserves just enough for easy brushing.
- Fresh fruit or mint: Optional garnish for adding pops of color around the border.
Crafting Your Glazed Tart
- STEP 1Ensure your 9-inch tart shell is fully baked, crisp, and cooled completely on a wire rack.
- STEP 2Whisk your thick lemon curd until smooth, then pour it evenly into the prepared tart shell, smoothing the top with an offset spatula.
- STEP 3Place the filled tart in the refrigerator to chill for at least 2 hours until the citrus filling is firm and set.
- STEP 4In a small microwave-safe bowl, combine the apricot preserves and warm water, heating for 15 seconds until melted.
- STEP 5Push the warm apricot mixture through a fine-mesh sieve to remove any fruit chunks, leaving you with a clear, shimmering glaze.
- STEP 6Dip a pastry brush lightly into the warm glaze and gently sweep it across the top surface of the chilled lemon curd layer in a single, even direction.
- STEP 7Return the glazed tart to the refrigerator for another 30 minutes to let the glossy topping set completely.
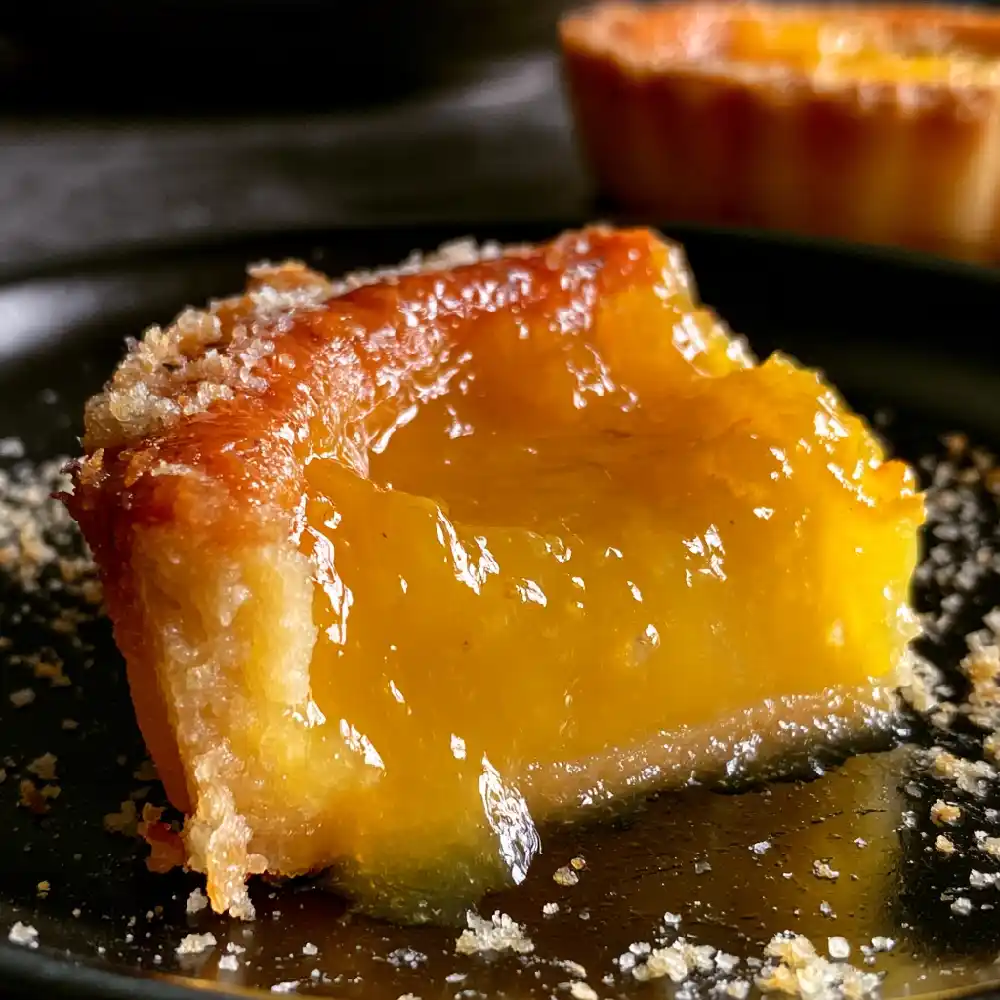
- STEP 8Slice carefully with a warm knife and serve chilled alongside any leftover lemon curd cookies or tea.
Fun Twists and Serving Ideas
- Fruit Border: Arrange fresh raspberries or sliced strawberries around the glazed outer ring for a stunning color contrast.
- Nutty Crust: Press toasted sliced almonds into the sides of your tart shell before blind baking for added texture.
- Citrus Zest Curls: Add delicate ribbons of candied lemon zest right in the center of the glossy glaze.
- Lemon Curd Cheesecake Pairing: Serve miniature slices of this tart alongside a rich lemon curd cheesecake for an extravagant dessert spread.
Pro Tips
- Strain the Preserves: Do not skip straining your apricot glaze; any fruit chunks will ruin the smooth, mirror-like finish.
- Brush Gently: Use a very soft pastry brush and light strokes so you do not disturb or gouge the set citrus filling underneath.
- Warm the Glaze Slightly: A warm glaze spreads thinly and evenly; if it is cold, it will clump and look cloudy.
- Chill Before Glazing: The tart must be cold so the glaze sets instantly upon contact rather than melting into the filling.
- Use a Sharp Blade: Wipe your knife clean between every slice to preserve the pristine appearance of the glossy top.
Beautiful Glazed Lemon Curd Tart
Ingredients
Equipment
Method
- Ensure the 9-inch tart shell is fully baked, crisp, and completely cooled on a wire rack before filling.
- Whisk the lemon curd until smooth. Pour it evenly into the prepared tart shell and smooth the surface with an offset spatula.
- Place the filled tart in the refrigerator for at least 2 hours, or until the lemon curd is firm and set.
- In a small microwave-safe bowl, combine the apricot preserves and warm water. Heat for about 15 seconds, or until the preserves have melted and can be stirred smoothly.
- Press the warm apricot mixture through a fine-mesh sieve to remove fruit pieces and create a smooth, clear glaze.
- Using a soft pastry brush, gently spread a thin, even layer of warm glaze over the chilled lemon curd surface. Work lightly in one direction to preserve the smooth filling underneath.
- Return the tart to the refrigerator for another 30 minutes so the glossy glaze can set completely.
- Slice carefully with a warm, sharp knife, wiping the blade clean between cuts. Serve chilled, garnished with fresh fruit or mint if desired.
Notes
FAQs
Can I make this glazed tart ahead of time? Yes, you can assemble and glaze it up to 24 hours before serving, keeping it stored securely in the refrigerator.
How should I store leftover glazed tart? Keep leftovers in an airtight container in the refrigerator for up to 3 days to maintain the crispness of the crust.
Can I freeze a glazed tart? Freezing is not recommended because the glossy apricot coating and pastry crust will break down and become soggy upon thawing.
Why did my glaze look cloudy? Cloudiness usually happens if the preserves weren’t strained properly or if the glaze was applied while too thick.
Can I use apple jelly instead of apricot preserves? Yes, neutral apple jelly or clear red currant jelly makes an excellent substitute for creating a shiny fruit glaze.
A Cozy Final Thought
This Beautiful Glazed Lemon Curd Tart proves that presentation is just as important as flavor in home baking. The shimmering apricot finish combined with that sharp, velvety citrus center makes every bite feel like a celebration. I hope you enjoy sharing this gorgeous creation!