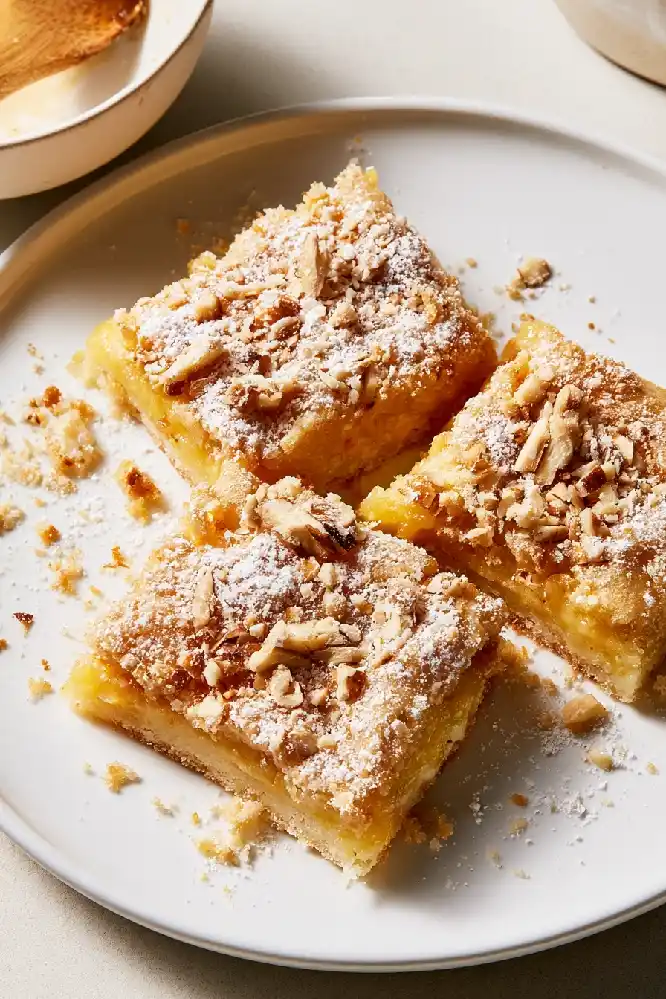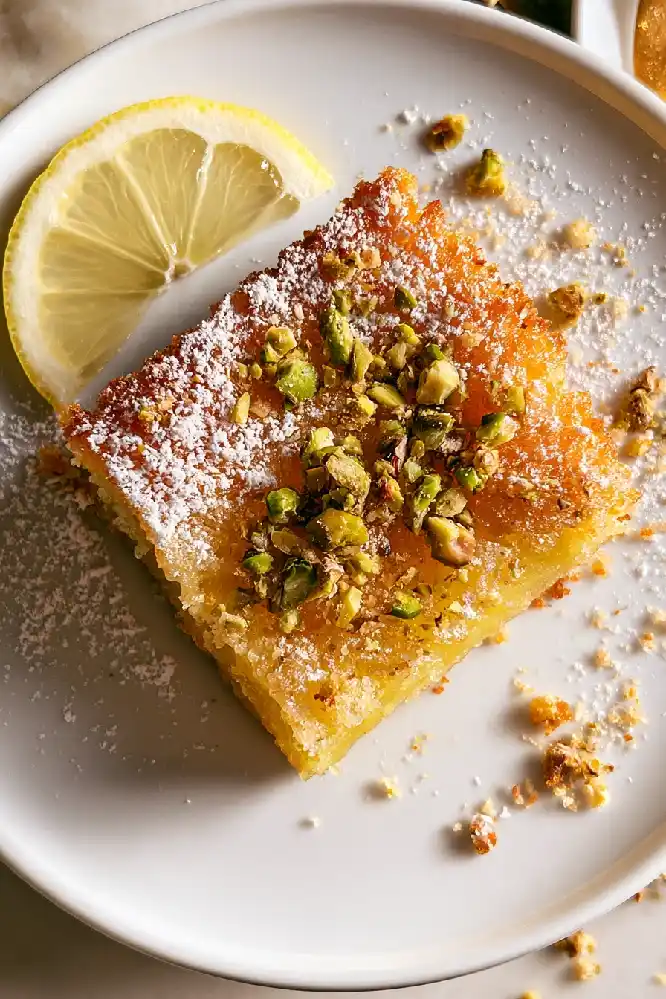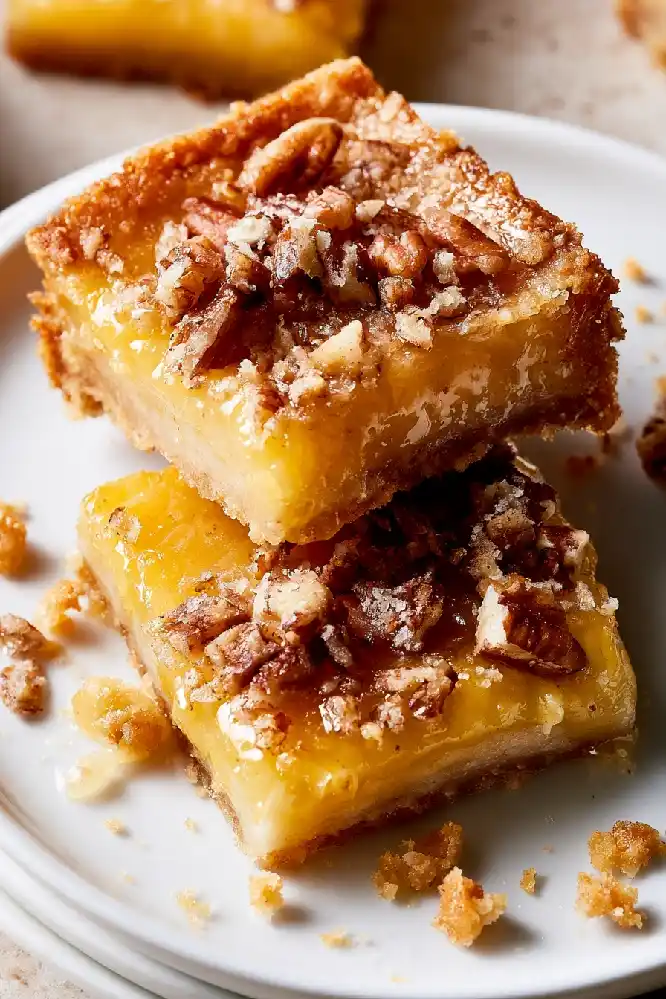
Three Layers, One Showstopper
I once served these at a bridal shower, and the guests were so busy admiring the stripes that the pan sat untouched for a full five minutes. Learn more about DanyRecipes and why I love desserts that look as good as they taste.
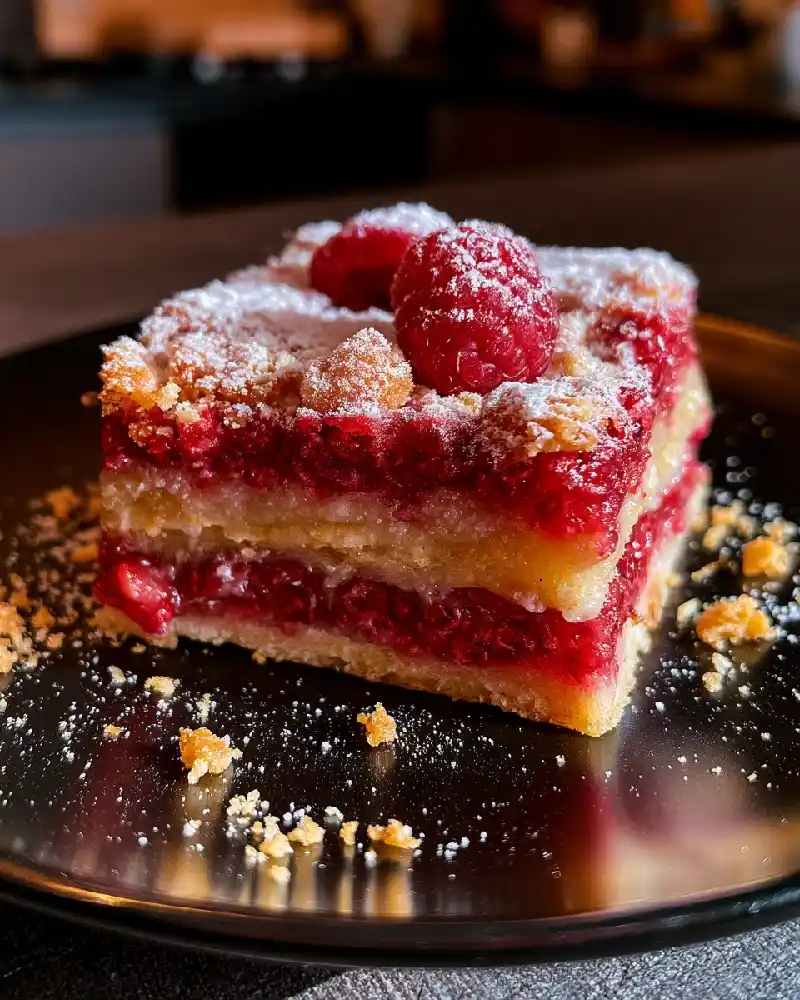
These raspberry lemon bars stack a buttery crust, a ruby raspberry layer, and a golden lemon custard into neat, bakery-worthy squares.
Why Layers Make the Difference
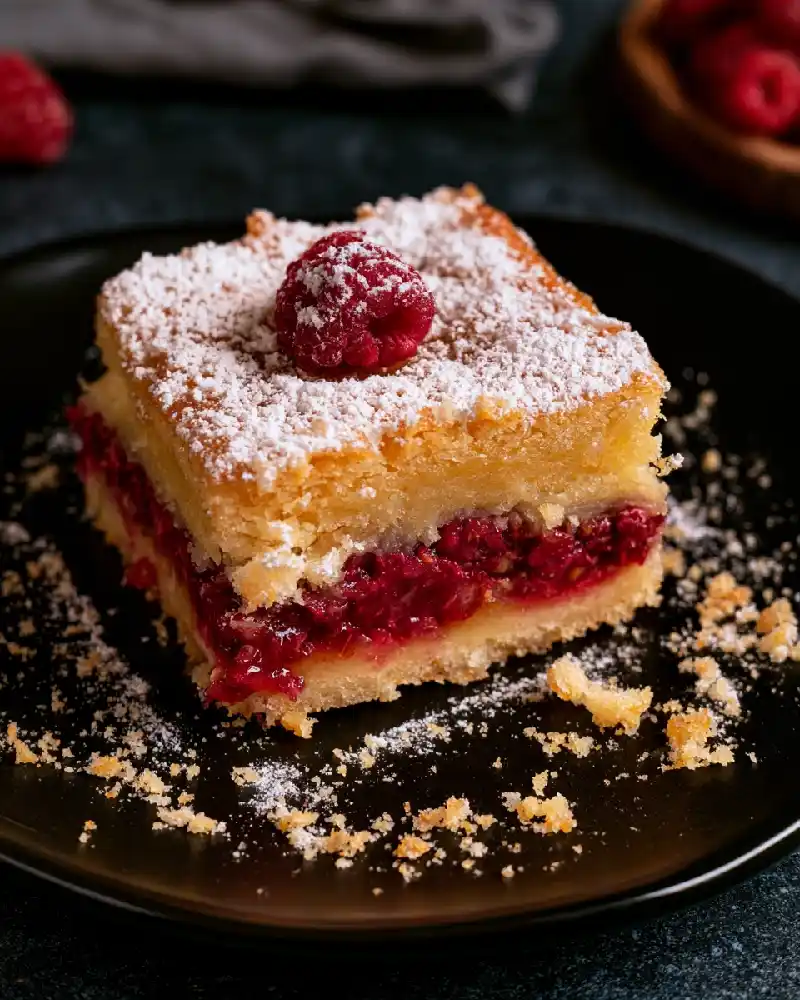
A thick raspberry layer cooked with a little cornstarch stays jammy and distinct, so it never bleeds into the lemon custard above it. Each slice shows off three clean bands of color, with sweet fruit in the middle and bright tang on top.
This lemon bars recipe fits a standard 9×13 pan and makes a generous batch for parties and holidays. It is one of my favorite lemon desserts for special occasions, and it pairs nicely with my chewy thumbprint lemon curd cookies on a dessert table.
Ingredients for Layered Bars
For the crust:
- 2 cups all purpose flour
- 1/2 cup powdered sugar, plus extra for dusting
- 1/4 teaspoon fine salt
- 1 cup (2 sticks) cold unsalted butter, cubed
For the raspberry layer:
- 3 cups fresh or frozen raspberries
- 1/3 cup granulated sugar
- 1 1/2 tablespoons cornstarch
- 1 teaspoon fresh lemon juice
For the lemon layer:
- 1 3/4 cups granulated sugar
- 4 large eggs, at room temperature
- 2/3 cup fresh lemon juice (about 4 lemons), strained
- 2 tablespoons lemon zest, finely grated
- 1/4 cup all purpose flour
- Pinch of salt
Easy Steps to Layered Bars
STEP 1
Heat the oven to 350°F and line a 9×13 pan with parchment, leaving an overhang on two sides.
STEP 2
Whisk the flour, powdered sugar, and salt, then cut in the cold butter until soft, damp crumbs form, press the dough into the pan, and bake for 18 to 20 minutes until lightly golden.
STEP 3
Simmer the raspberries, sugar, cornstarch, and lemon juice for 6 to 8 minutes, mashing gently, until thick and glossy, then cool for 15 minutes.
STEP 4
Spread the cooled raspberry mixture evenly over the warm crust, leaving a thin border at the edges.
STEP 5
Whisk the sugar, eggs, lemon juice, zest, flour, and salt until smooth, pour it slowly over the raspberry layer, and bake for 25 to 30 minutes until the center barely wobbles.
STEP 6
Cool on a rack, chill for at least 4 hours, then dust with powdered sugar and slice into squares with a clean knife.
Beautiful Layered Raspberry Lemon Bars
Ingredients
Equipment
Method
- Preheat the oven to 350°F (175°C). Line a 9×13-inch baking pan with parchment paper, leaving an overhang on two sides for easy removal.
- Whisk together the flour, powdered sugar, and salt. Cut in the cold cubed butter until soft, damp crumbs form. Press the mixture evenly into the prepared pan and bake for 18 to 20 minutes, until lightly golden.
- Combine the raspberries, granulated sugar, cornstarch, and lemon juice in a saucepan. Simmer for 6 to 8 minutes, gently mashing the berries, until the mixture is thick and glossy. Let cool for 15 minutes.
- Spread the cooled raspberry mixture evenly over the warm crust, leaving a thin border around the edges.
- In a mixing bowl, whisk together the sugar, eggs, lemon juice, lemon zest, flour, and salt until smooth. Slowly pour the lemon filling over the raspberry layer, using the back of a spoon to help distribute it gently.
- Bake for 25 to 30 minutes, until the center barely wobbles. Cool on a wire rack, then refrigerate for at least 4 hours. Dust with powdered sugar and slice into squares using a clean knife, wiping the blade between cuts.
Notes
Serving Ideas and Easy Twists
- Top each square with a fresh raspberry and a curl of lemon zest.
- Serve chilled with whipped cream on the side.
- Pair with my crispy shortbread lemon curd cookies for a buttery crunch beside the layered bars.
- Swap the raspberries for blackberries for a deeper purple stripe.
- Trim the edges before slicing for picture-perfect squares.
Pro Tips
- Cool the raspberry layer fully so the custard does not mix into it.
- Pour the lemon filling slowly over the back of a spoon to keep the layers distinct.
- Cook the raspberries until thick, since a thin layer will soak into the crust.
- Pull the pan when the center still wobbles, since it firms up as it chills.
- Chill for a full 4 hours so the layers set and slice cleanly.
- Wipe your knife between cuts to keep the stripes sharp.
FAQs
Can I use raspberry jam for the middle layer?
Yes, spread 1 cup of seedless jam over the crust for a quicker version. Choose a thick jam so it holds its layer.
How should I store the bars?
Cover and refrigerate for up to 4 days, with parchment between layers. Berries add moisture, so they are best within that window.
Can I freeze them?
Yes, freeze the undusted bars wrapped tightly for up to 2 months. Thaw overnight in the fridge before serving.
Why did my layers blend together?
The raspberry layer was likely warm or too thin. Cool it fully and cook it until it coats the back of a spoon.
Why is my filling runny?
It likely needed a few more minutes in the oven or a longer chill. The center should barely wobble when you nudge the pan.
A Layered Little Goodbye
Few desserts feel as celebratory as a pan with perfect stripes. I hope these bars make your next gathering a little more beautiful. For more citrus treats, try my melt in your mouth lemon curd cookies, the 5 ingredient glazed lemon curd cookies, or the zesty drop lemon curd cookies.